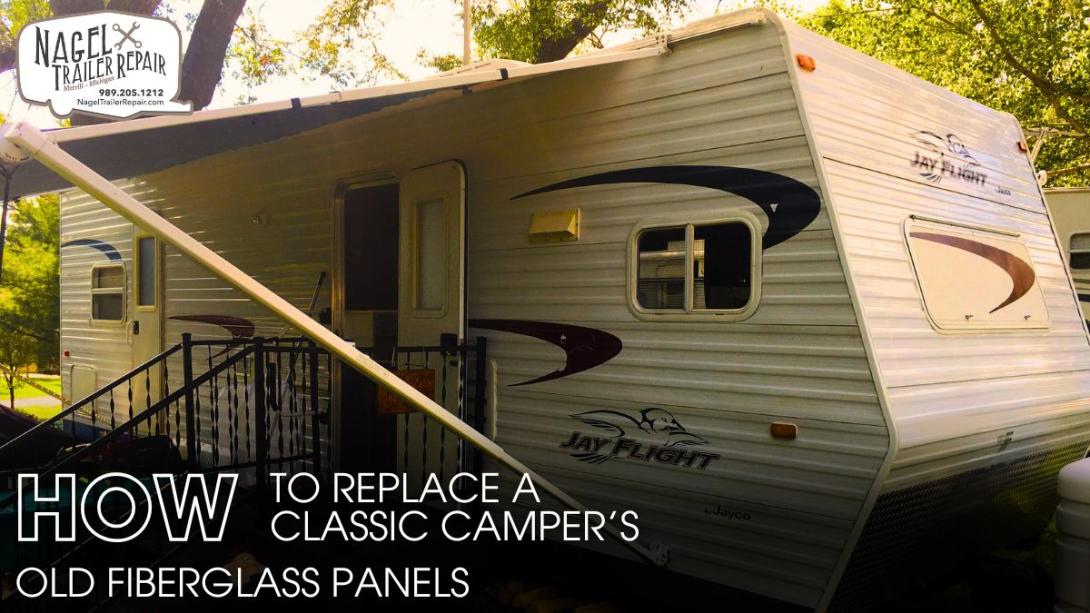
The shine of a classic camper isn’t just nostalgia—it’s craftsmanship. Every panel, curve, and rivet reflects an era of travel built on endurance and simplicity. But time, UV exposure, and weather can turn even the strongest fiberglass panels brittle or blistered. What starts as hairline cracks soon becomes structural decay, putting your camper’s safety and charm at risk.
Many owners hesitate to replace fiberglass because it feels like a job meant for professionals. A wrong cut, weak adhesive, or poor sealing can lead to leaks or warping. But with the right tools, patience, and understanding, anyone can restore a classic’s strength and shine.
This detailed guide walks you through the entire process—from identifying damage to bonding new fiberglass with precision—so you can bring your vintage camper back to life and keep it adventure-ready for decades.
Understanding Fiberglass Panels:
Fiberglass panels are the unsung heroes of vintage camper design. Lightweight, weather-resistant, and easy to mold, they replaced heavy metal sheets in mid-century builds. Over time, however, constant sun exposure and vibration cause them to weaken or delaminate.
In Classic Camper Repair Michigan projects, you’ll encounter several types of fiberglass:
- Mat Fiberglass: Ideal for curved surfaces, though less impact-resistant.
- Woven Roving: Stronger and thicker, used for flat or structural areas.
- Pre-Molded Panels: Found in many 1960s–1970s models, often requiring exact replication.
Knowing your camper’s original fiberglass composition helps you match strength, flexibility, and finish when selecting replacements.
Assessing Damage and Wear:
Before replacing panels, take time for a deep inspection. Damage is often more extensive than it appears. Look for:
- Surface cracks: Usually caused by UV exposure and temperature swings.
- Delamination: The telltale bubbling or soft spots where resin layers have separated.
- Moisture intrusion: Signs of mildew or rot beneath interior paneling.
- Loose seams: Weak bonding from old adhesives or rusted fasteners.
Use a moisture meter and bright work light to trace hidden leaks. In Classic Camper Restoration Michigan, this stage determines whether partial replacement is enough or if a full-panel restoration is necessary. Ignoring hidden damage now will shorten the lifespan of even the best repairs.
Preparation and Safety Steps:
Fiberglass repair is messy, chemical-heavy work. Protection and preparation save time and health.
Safety Gear Essentials:
- Respirator or N95 mask for resin fumes
- Gloves resistant to epoxy
- Safety goggles and long sleeves
Workspace Setup:
Work in a shaded, ventilated area. If indoors, use an exhaust fan and cover the floor with tarp to catch resin drips and dust. Disconnect nearby electrical systems and remove windows or fixtures that overlap your working area.
Proper prep—often overlooked in Classic Camper Trailer Repair Michigan—makes the difference between a seamless install and one that fails within a season.
Removing the Old Panels:
Panel removal is delicate surgery for your camper’s body. Start by loosening exterior trim and removing rivets or screws securing the old fiberglass. Heat guns help soften stubborn sealant, while a putty knife or oscillating tool separates panels without tearing the frame beneath.
Move slowly and label everything you detach. Many restorers use painter’s tape and photos to document each step. This becomes invaluable during reassembly.
If sections of wood framing beneath the fiberglass show dark stains or softness, replace those before adding new panels. A sturdy foundation ensures your new fiberglass bonds evenly and maintains its shape over time.
Installing New Fiberglass Sheets:
With the surface clean and solid, it’s time to fit your new panels. Clean the contact area with acetone to remove oils or residue.
Installation Steps:
- Dry Fit First: Align your new fiberglass sheet before applying adhesive. Make sure all seams line up with existing joints.
- Apply Marine-Grade Epoxy: These adhesives withstand vibration, moisture, and temperature extremes. Spread evenly using a roller or notched trowel.
- Set the Panel: Press it into place, applying even pressure. Use clamps, straps, or temporary screws to hold it tight as the adhesive cures (usually 24–48 hours).
- Trim and Smooth Edges: Once cured, grind excess fiberglass with a rotary sander for a flush, factory-style finish.
Finish with a high-grade gel coat for protection and shine. Professionals performing Classic Camper Service Michigan often recommend adding UV inhibitors to extend surface life.
Finishing and Long-Term Care:
Once panels are secured, attention shifts to sealing and protection. Even a single unsealed seam can allow moisture to enter and compromise your work.
Finishing Checklist:
- Use marine-grade silicone to seal all joints, corners, and rivet holes.
- Buff the fiberglass with fine-grit sandpaper before applying primer and paint or a clear gel coat.
- Reattach trim and hardware using stainless steel fasteners to prevent rust bleed.
To maintain the finish, wash your camper regularly with non-abrasive soap. Apply a protective wax every six months and inspect for stress cracks before each travel season. Properly maintained fiberglass can last 25–30 years without replacement.
The Role of Professional Maintenance:
Working on an aging camper can be rewarding, but there’s a line between restoration and risk. When it comes to structural repairs or system retrofits, professional maintenance brings precision that DIY methods can’t always guarantee. Experienced technicians understand the materials, bonding techniques, and safety codes that keep classic models both authentic and roadworthy.
A skilled hand ensures fiberglass replacements align perfectly with the frame and that seals, adhesives, and finishes hold up under years of travel. The same expertise matters when dealing with fuel systems—where even a small error can lead to leaks or hazards.
Certified mechanics use pressure testing, updated fittings, and compliant lines to bring old gas systems up to modern safety standards. Regular professional inspections not only protect your investment but also preserve the character of your camper while keeping every journey reliable and secure.
Conclusion:
Replacing fiberglass panels on a classic camper blends craftsmanship with patience. Each step—from assessing hidden damage to sealing fresh panels—restores not only structure but history.
Whether you tackle the project in your garage or visit specialists in Classic Camper Repair Michigan, understanding the materials and methods gives you control over the outcome. With care, your vintage camper won’t just look new—it will travel like it did decades ago, turning heads and carrying stories on every road.