
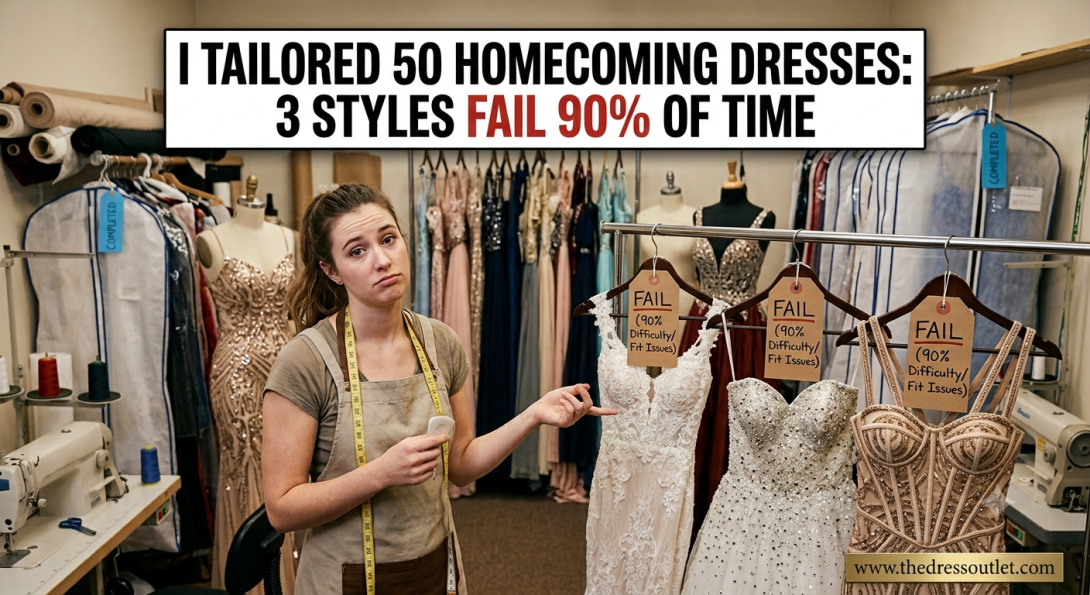
After altering over fifty formal gowns this season, patterns begin to emerge quickly. While many homecoming dresses look stunning on showroom hangers, certain trendy cuts consistently fail during actual fittings, requiring extensive adjustments to fit properly on real bodies.
Understanding which silhouettes present structural challenges saves you time, money, and frustration before your big event. By learning insider tailoring insights, you can select styles that flatter naturally and avoid costly emergency alterations at the seamstress shop.
The Secret Structural Flaws of Trendy Formalwear
Fast-fashion trends often prioritize cheap mass production over proper pattern engineering. Many popular party garments lack the basic internal support, waist stays, or structural seam allowances necessary to anchor fabric securely against moving bodies.
When high school dancers step into fitting rooms, poorly constructed cuts reveal their flaws instantly. Unsupported strapless tops slip downward, thin mesh panels tear under minor strain, and bias-cut skirts pull awkwardly across hips, turning what should be an exciting milestone into a stressful fitting nightmare.
The 3 Dress Styles That Fail 90% of the Time
Through extensive tailoring experience, three specific silhouettes routinely require major structural overhauls. Identifying these problematic designs before buying protects your budget and spares you from unexpected alteration bills.
1. The Low-Back Satin Slip Cut
Bias-cut satin slips look sleek, but they lack internal anchor points. Without a structured waistline or full back panel, the fabric shifts constantly, causing gaping at the bust and awkward bunching around the lower belly.
2. Unboned Strapless Micro-Mini Designs
Strapless garments require sturdy internal boning to stay upright. Mass-market versions usually substitute cheap plastic stays or omit boning entirely, forcing wearers to hitch up the bodice every few minutes on the dance floor.
3. Sheer Mesh Illusion Cuts with Heavy Beading
Heavy glass beads sewn onto delicate tulle or mesh create severe tension points. The fragile mesh stretches under the bead weight, causing shoulder seams to sag downward while creating uncomfortable friction along armhole edges.
Checklist: 6 Things to Check Before Buying
Before purchasing your dance outfit, inspect these key construction details. Performing a quick five-minute evaluation in the dressing room prevents disappointing fitting surprises later.
- Internal Boning Quality: Press gently against bodice side seams to ensure supportive boning feels rigid rather than flimsy.
- Seam Allowance Width: Look inside the garment to confirm seams have extra fabric margins for potential custom widening.
- Zipper Reinforcement: Check that zippers are backed by sturdy ribbon tape to prevent fabric snagging or unexpected popping.
- Lining Fabric Stretch: Verify the inner lining stretches alongside the outer shell to prevent restrictive, stiff movement.
- Strap Anchor Points: Inspect where shoulder straps attach to the bodice to ensure stitching is reinforced securely.
- Hemline Symmetry: Hang the dress flat to verify the bottom hem stays completely even all the way around.
How to Fix Common Fitting Issues on a Budget
If you already purchased a tricky silhouette, do not panic. Strategic tailoring techniques and clever undergarments can resolve most fit issues without breaking your wallet.
- Insert Sewing Cups: Have a tailor stitch padded bra cups directly into the lining for instant bust support.
- Add Inner Waiststay Bands: Sew a thick elastic band inside the waistline to lock heavy skirt weight securely onto your hips.
- Attach Secret Fashion Tape: Use double-sided body tape along strapless necklines to prevent gaping during active movement.
- Convert Straps to Cross-Back: Cross straight shoulder straps into an X-shape across your back to double bust support.
- Shorten Shoulder Straps First: Shorten shoulder straps before altering hemlines, as lifting shoulders often fixes bust gaping issues.
- Reinforce Mesh Seams: Request a tailor sew clear elastic along delicate mesh seams to prevent tearing under pressure.
"Pattern balance is everything in formalwear. When a garment lacks proper internal waist anchoring, no amount of exterior pinning will make it sit correctly on the body," explains master seamstress Clara Mendoza.
Real-World Example: Saving an Unstable Prom Fit
Note: The following section is a realistic illustrative example based on typical seamstress fitting experiences.
Challenge
A client brought in a low-back satin dress that gaped four inches at the bust and kept sliding down her hips, making walking uncomfortable.
Strategy
Instead of taking in the side seams excessively, the seamstress installed a hidden waiststay ribbon inside the lining and added delicate crossover back straps for stability.
Result
The structural additions anchored the dress firmly at the natural waist, completely eliminating bust gaping while preserving the original sleek silhouette.
Key Takeaway
Adding hidden structural supports like waiststay bands fixes shifting fabric problems far better than simply taking in exterior seams.
Frequently Asked Questions
Which styles of homecoming dresses are easiest to alter?
A-line cuts and classic sleeveless sheaths with sturdy side seams are the easiest to alter. They allow simple bust intake, waist adjustment, and hem shortening without altering the overall silhouette balance.
How much should I budget for dress alterations?
Budget between thirty and eighty dollars for basic hem or strap adjustments. Complex jobs involving boning, heavy beadwork, or resizing delicate mesh can range from one hundred to two hundred dollars.
Can a strapless dress be altered if it keeps falling down?
Yes, a seamstress can insert flexible boning into side seams, add an internal elastic waiststay band, or sew in structured bra cups to lock the bodice securely against your torso.
How far in advance should I bring my dress to a tailor?
Bring your garment to a seamstress three to four weeks before your event. This allows sufficient time for multiple fitting rounds and final steam pressing without incurring expensive rush fees.