
Undergoing a hair transplant in Riyadh, like any medical procedure, involves a series of meticulously planned steps to ensure optimal results and patient comfort. While the specific details might vary slightly between clinics and the chosen technique (FUE or FUT), the general process remains consistent.
Here's a step-by-step guide to the hair transplant process in Riyadh:
Step 1: Initial Consultation and Assessment
This is the foundational step and arguably one of the most crucial. In Riyadh, you'll begin with a detailed consultation with a qualified hair transplant surgeon.
- Discussion of Goals and Expectations: You'll openly discuss your concerns, the extent of your hair loss, your desired hairline, and your overall expectations from the procedure.
- Scalp and Hair Analysis: The surgeon will thoroughly examine your scalp, assess the pattern and degree of hair loss (e.g., using the Norwood scale for men), and evaluate the quality, density, and elasticity of your donor area (typically the back and sides of your head). This assessment is vital to determine the number of grafts needed and the most suitable technique.
- Medical History Review: You'll provide a comprehensive medical history, including any pre-existing conditions, allergies, and medications you are currently taking. This helps the surgeon identify any potential risks or contraindications.
- Blood Tests and Health Assessment: To ensure you are a suitable candidate and in good overall health, standard blood tests will be conducted. This may include checks for blood-borne diseases, clotting disorders, and other relevant health markers.
- Treatment Plan and Cost Estimation: Based on the assessment, the surgeon will recommend the most appropriate hair transplant technique (FUE, FUT, or DHI), outline the number of grafts required, and provide a detailed cost estimate, often including any comprehensive packages that cover post-operative care and additional treatments.
- Pre-operative Instructions: You'll receive specific instructions to follow before the surgery, which typically include avoiding alcohol, smoking, and certain medications (like blood thinners) for a specified period.
Step 2: Pre-operative Preparation on the Day of Procedure
On the day of your hair transplant, the clinic staff will ensure you are comfortable and prepared.
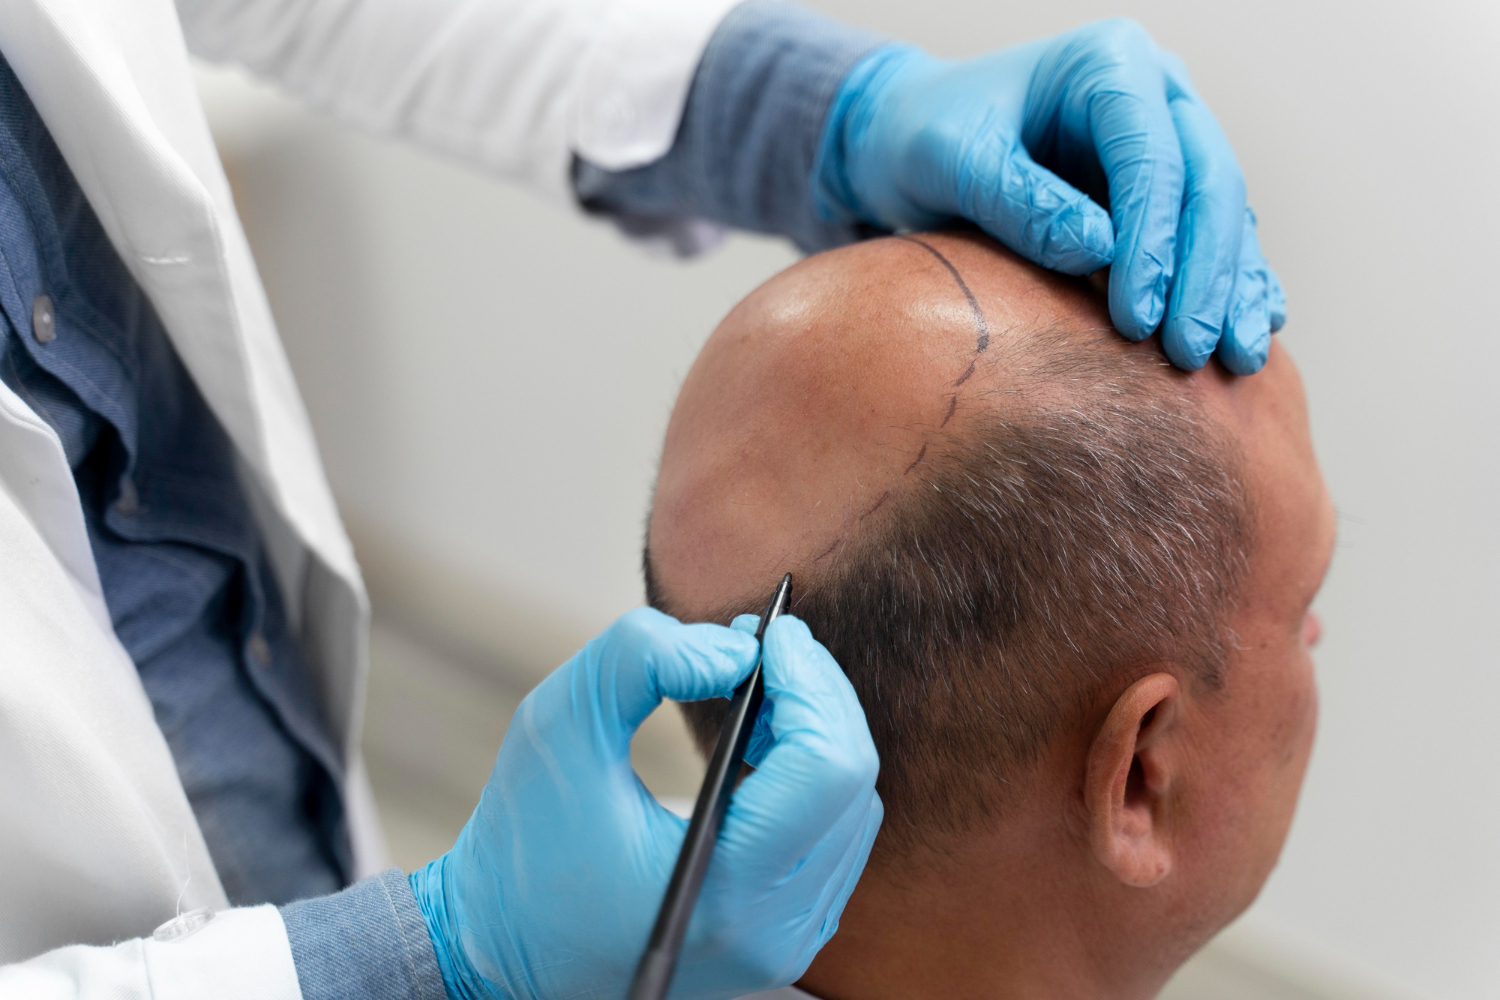
- Final Consultation and Hairline Design: The surgeon will once again discuss the hairline design with you, making final markings on your scalp to ensure you are completely satisfied with the aesthetic plan.
- Hair Trimming/Shaving: For FUE procedures, the donor area, and sometimes the recipient area, will need to be shaved or trimmed very short to allow for precise graft extraction and implantation. For FUT, only the strip area is typically trimmed.
- Scalp Cleansing: Your scalp will be thoroughly cleaned and sterilized to minimize the risk of infection.
- Local Anesthesia Administration: Local anesthesia will be administered to both the donor and recipient areas of your scalp. This ensures that the entire procedure is pain-free. You will be awake but will not feel any pain.
Step 3: Graft Extraction
This is the core of the hair transplant procedure and differs significantly between FUE and FUT.
- For FUE (Follicular Unit Extraction):
- Using a specialized micro-punch tool (typically 0.8-1.0 mm in diameter), the surgeon will individually extract follicular units (groups of 1-4 hairs) directly from the donor area.
- These extracted grafts are then carefully collected and kept in a special solution to maintain their viability until implantation.
- For FUT (Follicular Unit Transplantation - "Strip Method"):
- A thin, linear strip of skin containing healthy hair follicles is surgically removed from the donor area (usually the back of the head).
- The incision in the donor area is then meticulously closed with sutures, resulting in a linear scar that is typically hidden by the surrounding hair.
- The harvested strip is then passed to a team of technicians who, under high-powered microscopes, carefully dissect it into individual follicular units.
Step 4: Graft Preparation
Regardless of the extraction method, the harvested grafts need careful preparation.
- Sorting and Quality Control: The extracted or dissected follicular units are meticulously sorted and inspected to ensure they are healthy and suitable for transplantation.
- Storage: The grafts are stored in a special, chilled solution to preserve their viability and maximize their survival rate while awaiting implantation.
Step 5: Recipient Site Creation and Implantation
This is the artistic phase of the hair transplant, where the surgeon creates the new hairline and places the grafts.
- Recipient Site Incisions: The surgeon makes tiny incisions or slits in the balding or thinning areas of the scalp (the recipient area). The angle, direction, and depth of these incisions are crucial for achieving a natural-looking hair growth pattern. Advanced tools like Sapphire blades may be used for even finer incisions.
- Graft Implantation: Each prepared follicular unit is then delicately inserted into these pre-made incisions. The surgeon and their team carefully place each graft to ensure optimal density and natural blending with existing hair. For DHI (Direct Hair Implantation), specialized pen-like implanters are used to create the incision and implant the graft simultaneously, often allowing for denser packing.
Step 6: Post-operative Care and Instructions
Once all the grafts are implanted, the procedure is complete.
- Dressing and Bandaging: A light dressing or bandage may be applied to the donor area, and sometimes a protective cap is placed on the recipient area.
- Medication and Instructions: You'll receive detailed instructions on how to care for your scalp, including how to gently wash your hair, medications to take (antibiotics, pain relievers, anti-inflammatories), and precautions to observe (e.g., avoiding strenuous activities, direct sun exposure, and touching the transplanted area).
- Follow-up Appointments: Scheduled follow-up appointments with the clinic are crucial for monitoring healing, removing any sutures (if FUT was performed), and assessing the initial growth of the transplanted hair.
Step 7: Recovery and Hair Growth Timeline
- Initial Healing (Days 1-7): You may experience some redness, swelling, and scabbing in both the donor and recipient areas. This is normal and will subside.
- Shedding Phase (Weeks 2-4): It's common for the transplanted hair to shed during this period. This is a normal part of the process, and the hair follicles remain dormant before new growth begins.
- New Growth (Months 3-4): New, fine hairs will begin to emerge from the transplanted follicles.
- Maturation and Full Results (Months 6-12+): Over the next several months, the transplanted hair will gradually thicken, mature, and blend with your existing hair. The final results are typically visible within 12 to 18 months post-procedure.
By understanding this step-by-step process, individuals in Riyadh can approach their hair transplant journey with confidence and clear expectations. Choosing a reputable clinic with experienced surgeons is paramount to ensure a safe procedure and achieve natural, long-lasting results.