

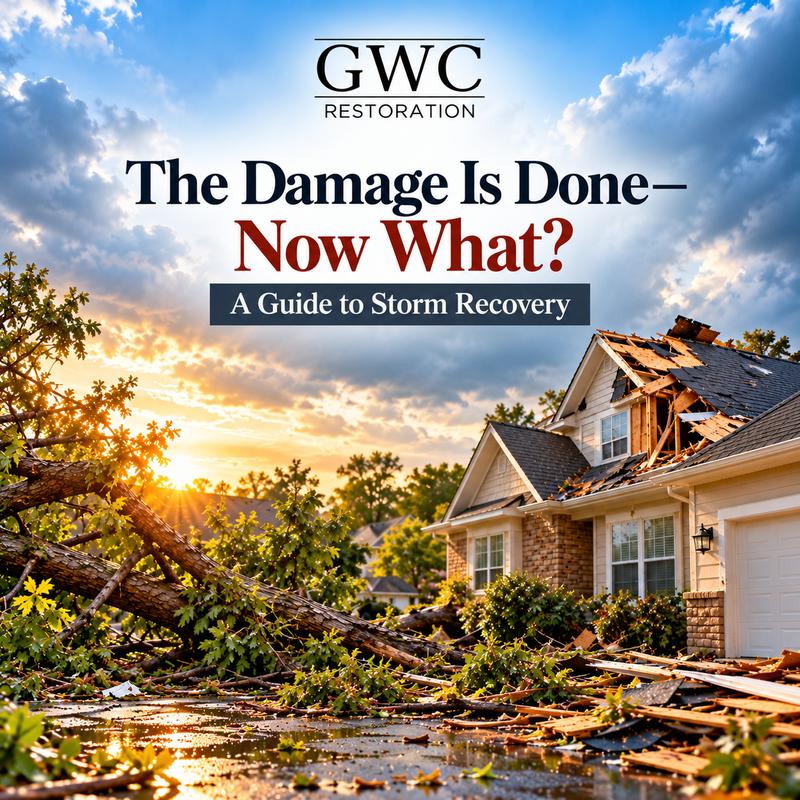
Severe storms can leave homeowners facing problems ranging from roof damage, broken windows, fallen trees, and water intrusion to unexpected structural damage. Although the storm has passed, the recovery process might seem challenging for homeowners. Knowing what to do next can save you a lot of trouble and help keep your property safe from further damage.
Storm damage can often go beyond what is visible. Water may be trapped behind walls and insulation, as well as beneath flooring. Damaged roofs and siding may also expose homes to further rain. Acting quickly after a storm is crucial if homeowners want their properties to recover as soon as possible.
1. Put Safety First After the Storm
Before inspecting your property, make sure conditions are safe. Damaged buildings can contain hidden hazards, including exposed electrical wiring, unstable structures, broken glass, and weakened roofing materials.
Keep your distance from downed power lines and report them to the appropriate utility provider. If you smell gas, leave the property and contact emergency services or your gas provider from a safe location.
Avoid entering rooms with sagging ceilings, significant structural damage, or standing water near electrical equipment. If the property appears unsafe, wait for qualified professionals to assess the situation.
Your first priority is protecting people, not inspecting the damage.
2. Document the Damage Before Cleanup Begins
Once the property is safe to approach, document the visible damage before moving debris or starting major cleanup activities.
Take clear photographs and videos of affected areas, including:
- Roof damage, missing shingles, and damaged gutters
- Broken windows, doors, and exterior siding
- Water stains on walls and ceilings
- Wet carpets, damaged flooring, and affected furniture
- Fallen trees, fencing, and outdoor structures
- Damaged personal belongings and household equipment
Keep a written record of the date, the damage observed, and any temporary repairs completed.
This documentation can help when discussing the incident with your insurance company. Keep receipts for emergency supplies, temporary repairs, and other storm-related expenses. Your insurer can explain which records are required under your policy.
3. Prevent Further Damage to Your Home
After severe weather, preventing additional damage is often just as important as addressing the original damage.
A damaged roof may allow rainwater to enter the attic, while broken windows can expose interior spaces to wind and moisture. If another storm arrives before repairs are completed, the damage may become more extensive.
Depending on the circumstances, temporary protective measures may include:
- Arranging professional roof tarping where it can be performed safely.
- Covering broken windows with suitable temporary protection.
- Moving undamaged belongings away from leaking areas.
- Placing containers beneath minor leaks when safe to do so.
- Arranging emergency water removal when conditions permit.
Never climb onto a storm-damaged roof or attempt repairs near electrical hazards. Temporary measures should not put you or anyone else at risk.
Contact your insurance company and a qualified restoration professional promptly to determine which emergency actions are appropriate.
4. Address Water Intrusion Before It Leads to Secondary Damage
Water intrusion is one of the most important concerns following a storm. Heavy rainfall can enter through damaged roofing, cracked windows, compromised siding, and foundation openings.
Even when the amount of water appears small, moisture can travel into concealed spaces and affect materials that are not immediately visible.
What Can Happen When Water Remains Inside?
Unaddressed moisture can contribute to:
- Swelling and warping of wood flooring
- Damage to drywall and insulation
- Deterioration of cabinets and other building materials
- Persistent musty odors
- Damage to carpets and upholstered furniture
- Mold growth when damp conditions persist
Mold can begin growing on suitable wet materials within approximately 24–48 hours under favorable conditions. The actual timing depends on moisture, temperature, material type, and other environmental factors.
Why Professional Drying Matters
Removing visible standing water is only one part of the recovery process. Moisture may remain beneath flooring, inside wall cavities, or within insulation.
Depending on the severity of the damage, restoration professionals may use water extraction equipment, commercial dehumidifiers, air movers, and moisture meters to identify affected areas and monitor drying.
Prompt action helps reduce the likelihood of secondary damage and can improve the chances of saving materials that are still suitable for restoration.
5. Inspect the Roof, Gutters, and Exterior
Storm damage often begins outside the home, where roofing, gutters, siding, and drainage systems protect the structure from the elements.
Missing shingles, damaged flashing, clogged gutters, and broken downspouts can allow water to enter areas that would otherwise remain dry.
After the storm, arrange a professional inspection if you suspect damage to the roof or other elevated structures.
Pay particular attention to:
- Missing, lifted, or cracked roofing materials
- Loose or detached gutters
- Damaged soffits and fascia
- Broken siding or exterior trim
- Water stains around windows and doors
- Signs of water entering the attic
Do not assume that a roof is undamaged simply because there are no visible leaks inside. Some problems may only become apparent during subsequent rainfall.
6. Understand What Can Be Restored and What Needs Replacement
Not every item damaged by a storm requires replacement. Some materials and belongings may be cleaned, dried, and restored, while others may be too damaged or contaminated to salvage.
The decision depends on the material, the extent of the damage, how long it has been wet, and whether contamination is present.
For example, some solid wood furniture can be salvaged if treated right away, while swollen composite materials or heavily damaged porous objects may require replacement.
Similarly, drywall may sometimes be dried effectively; however, saturated materials or those affected by contamination may need to be removed.
An expert evaluation helps determine the correct course of action rather than relying on guesswork.
7. Work With Your Insurance Company
Navigating an insurance claim can be challenging when you are already dealing with property damage. Contact your insurer as soon as reasonably possible and follow its instructions for reporting the loss.
Before starting non-emergency repairs, clarify whether an inspection or approval is needed. However, do not postpone important measures to protect the property from additional damage while waiting for a response. Keep records of the steps you take and the expenses you incur.
Ask your insurer about:
- Required photographs and supporting documentation
- The inspection and claims assessment process
- Coverage for emergency mitigation services
- Repair estimates and contractor documentation
- Applicable deductibles and policy limitations
- Any requirements for approving permanent repairs
Coverage varies by policy, and not every type of storm-related damage is automatically covered. Your insurer can explain the specific terms that apply to your situation.
8. Create a Clear Storm Recovery Plan
Once immediate hazards have been addressed and the damage has been documented, organize the recovery process into manageable stages.
A Practical Recovery Checklist
- Secure the property: Address immediate safety concerns and prevent additional exposure to the weather.
- Document the loss: Record visible damage and keep receipts for related expenses.
- Contact your insurer: Report the incident and clarify documentation requirements.
- Arrange an inspection: Identify visible and hidden damage that needs attention.
- Remove water and dry affected areas: Address moisture before it leads to further deterioration.
- Clean and restore salvageable materials: Use suitable methods for each affected surface and item.
- Complete necessary repairs: Repair roofing, structural components, interiors, and other damaged areas.
- Verify the results: Confirm that moisture concerns have been addressed and the property is ready for normal use.
The timeline will depend on the extent of the damage, the materials affected, contractor availability, and any required inspections.
9. Know When to Call a Storm Restoration Professional
Some storm damage can be addressed with minor maintenance, but widespread water intrusion, structural concerns, or extensive interior damage requires professional attention.
Consider contacting a restoration professional if your home has experienced significant flooding, persistent leaks, damaged ceilings, extensive wet flooring, or suspected moisture behind walls.
Professional restoration can help identify the source and extent of the damage, establish a suitable drying plan, and determine which materials can be salvaged.
Choosing a qualified provider also helps ensure that emergency mitigation and permanent repairs are handled as separate but coordinated stages of the restoration process.
Conclusion
Recovering from a storm involves more than repairing what is visibly damaged. Homeowners also need to consider hidden moisture, structural safety, damaged building materials, insurance documentation, and the possibility of further weather exposure. Acting promptly, documenting the damage, and following a clear recovery plan can help prevent avoidable complications and move the property toward a safe return to normal.
If your house has suffered storm-related damage, professional Storm Damage Restoration Madison services can help you assess the situation, address water intrusion, and take the next steps toward restoring your home.
The Article “The Damage Is Done—Now What? A Guide to Storm Recovery” was originally posted here.